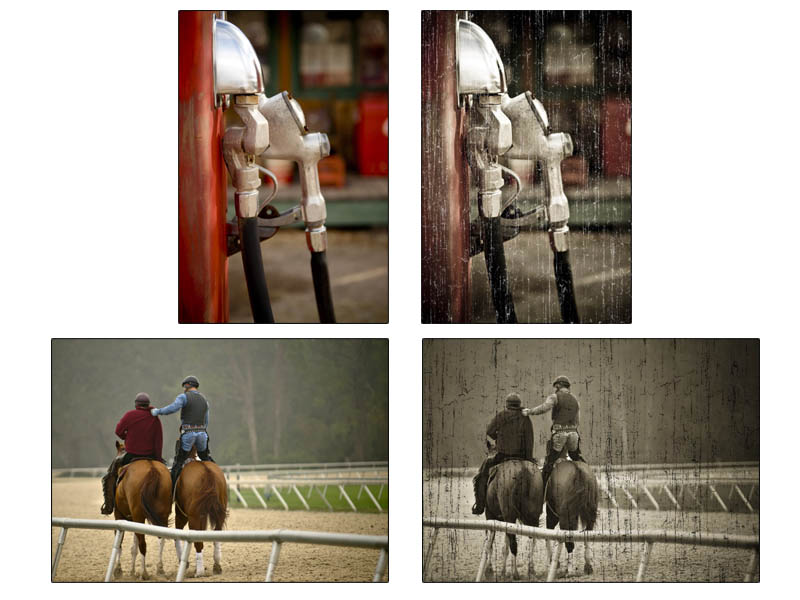
1. Work on your photo just as you normally would in Lightroom. Then apply any presets to it.
2. Go to Photo > Edit in Photoshop and open the photo in Photoshop.
3. Download the texture I’ve given you (or find/create your own) and open it. Drag the texture on top of your photo and transform it to fit.
4a. Here’s where things get cool. The texture is black with a white background. So if you change the layer blend mode to Multiply you’ll drop out the white and leave only the black parts which gives a nice old look. You can also drop the opacity to fade it.
- or -
4b. Or… if you want a white texture (which works a little better for printing on a white background) then press Ctrl/Cmd + I to invert the colors (black becomes white and white becomes black). Then change the blend mode of the texture layer to Screen. This will drop out the black and keep the white.
5. Either way you go (step 4a or 4b), save the file just like you would any Lightroom based image in Photoshop. Go back into Lightroom and now you can take your textured into any output module just like you normally would.
I know it’s a weird workaround but it’s a way to get a very “Photoshop”-like effect but still keep your photo to output in Lightroom.

 invalid-file


